The Art of Screen Printing
Most brands print their T-shirts and sweaters are digitally printed or machine screen printed using plastic based inks. It’s quicker and cheaper, and requires little skill...oh and involves nasty chemicals. We're not like most brands...
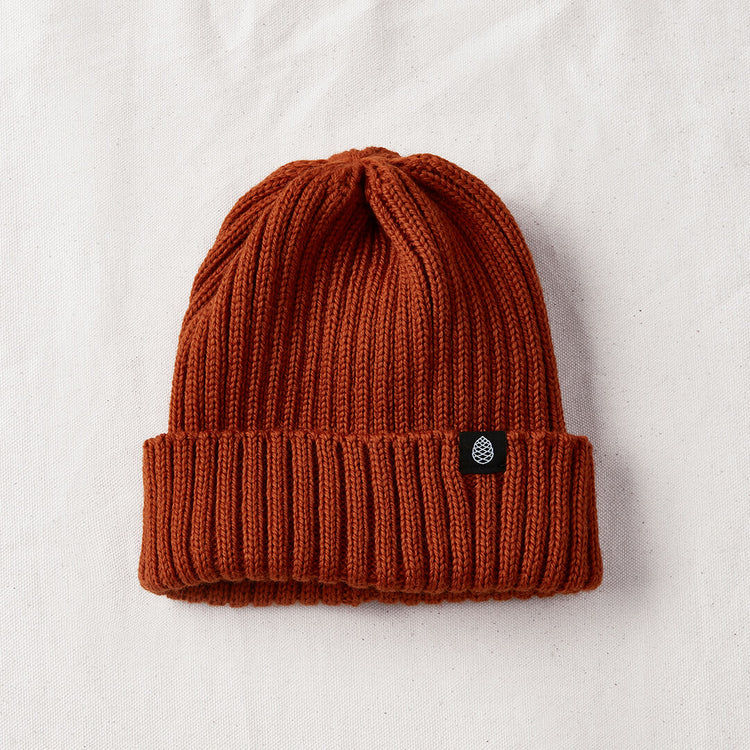
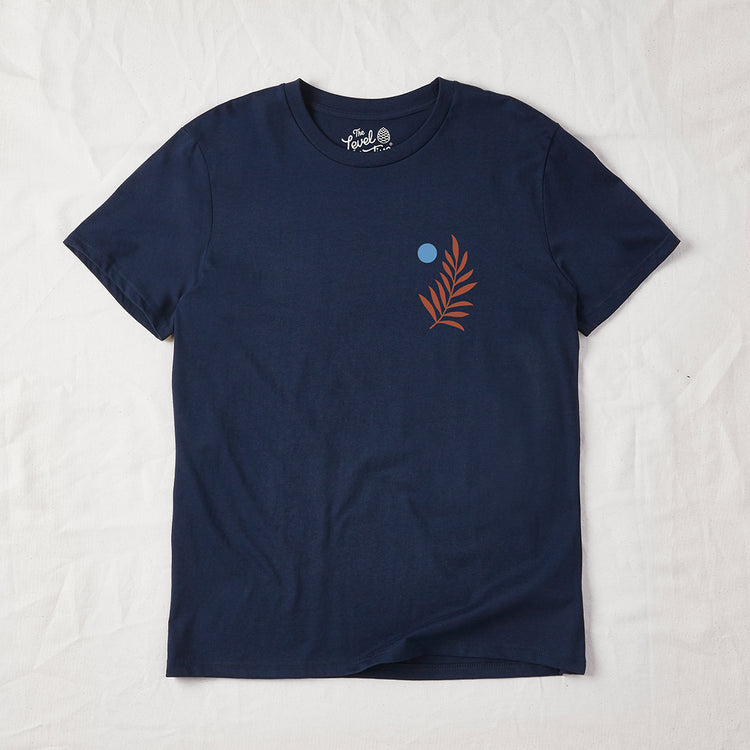
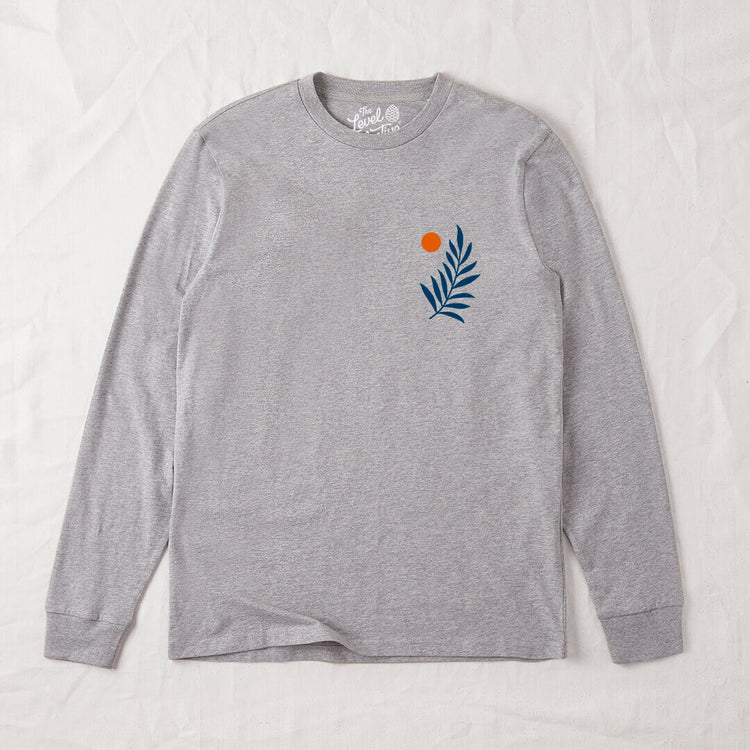
Our T-shirts and sweaters are hand screen printed which requires a lot of skill and patience but delivers a better quality result – sharper, stronger colours and a more durable finish. The inks we use are water-based, organic and and vegan making it lowest impact printing process we know of.
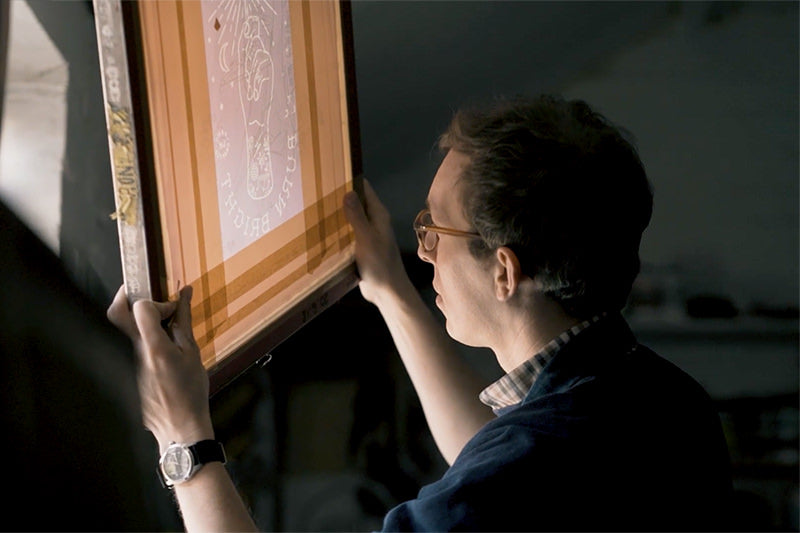
Here's our screen printer Rowan doing his thing...
Shop t-shirts Shop sweaters
How screen printing works
Now you’ve seen the video, here’s an outline of what Rowan does at each step in the process...
1. Print the artwork on standard white paper, using an office printer. Or, to skip step 2, print on to acetate.
2. Coat the paper in vegetable oil, soaking up the excess oil from the paper's surface, so it’s touch dry. This makes the white of the paper translucent (to let light though) and the ink of the printed design even darker in colour (to block the light).
3. Coat the mesh screen in a light-sensitive emulsion and leave to dry in the dark.
4. Place the artwork on top of the dry screen and expose to a bright light for two minutes. The light will pass through the oiled translucent parts of the paper around the design and will dry or 'bake' the light sensitive emulsion into the screen (although the emulsion will stay wet underneath the design, because the design has blocked the light).
5. Wash out the screen to remove the light sensitive emulsion, which stayed wet because of the artwork blocking the light. Leave to dry.
6. Mix your water-based ink colours, ready for printing.
7. Align your garment (or paper) underneath your screen. The screens are attached to hinges, which enables precise positioning when printing each colour.
8. Using a spatula, put a generous line of ink at one end of the screen outside of the design.
9. Using a squeegee (the wooden and rubber implement Rowan uses), smoothly and firmly pull the ink across the screen in one movement. Lift the screen up, then using the squeegee push some ink back across the screen to keep it wet.
To make the print nice and bright, designs have to be printed twice. Use a heat gun or heating plate to dry this first print, then repeat step 9, printing directly on top of the first print.
Then, for each colour in a design, repeat steps 1-9.
Not just a simple print and stick job, eh?!
In this instance, we think the good old fashioned way is certainly best.
A potted history
Hand screen printing in its simplest form dates back to around 221 AD in China, where the stencil technique was used to transfer designs to fabric. The Japanese then adopted the technique, making stencils out of paper by using stiff brushes to push the ink through screens woven from human and animal hair.
The fabric printing technique wasn’t used in Europe until the 1700s, when silk was stretched across a screen to form a mesh and again stiff brushes were used to push the ink through onto the fabric.
In the early 1900s, squeegees were developed as a tool for pulling the ink through the screens to replace the stiff brushes.
In 1938, a group of New York artists began experimenting with screen printing onto paper.
Screen printing really became popularised in the 1960s by pop artists, such as Andy Warhol, Robert Rauschenberg and Peter Blake, who used the technique as an integral part of their design pieces.
Mark Musgrave
More adventures
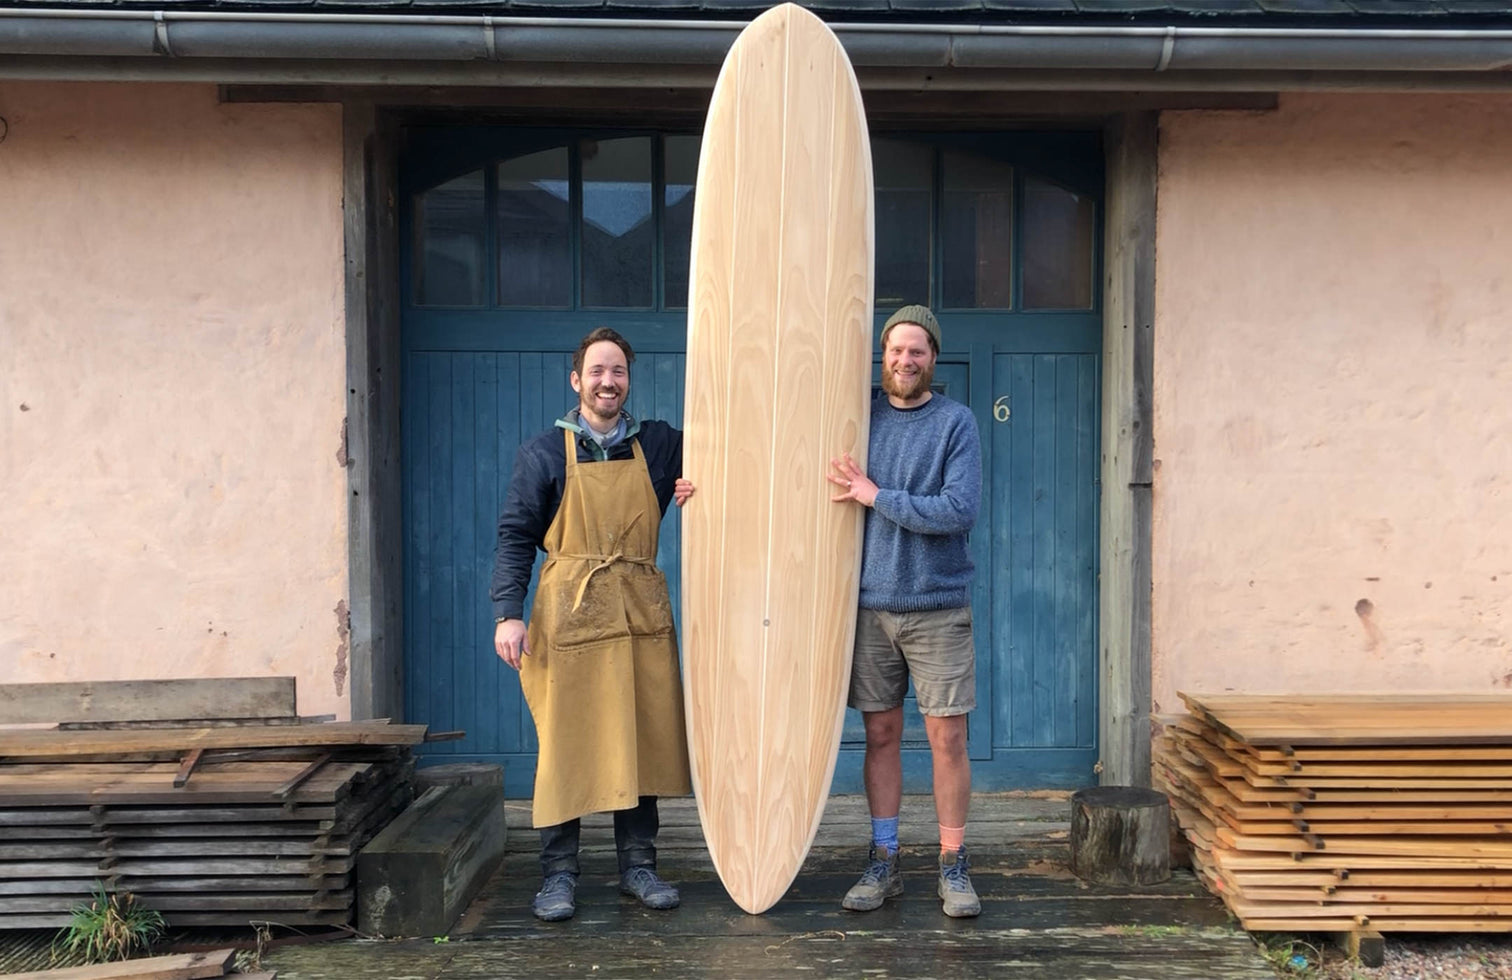
Making a wooden surfboard
A little while ago, I headed to the rugged north coast of Cornwall to spend a week making my own wooden surfboard...like you do. It'd been on my bucket list to do an Otter Surfboards workshop for...well, since I found out that it existed! I met the wonderful human that is founder James Otter at the Do Lectures back in 2015. We became good pals and all the more so since we upped sticks from Sheffield and moved down to Cornwall in early 2019. There's a few more waves rolling in down here than in the Peak District you see....
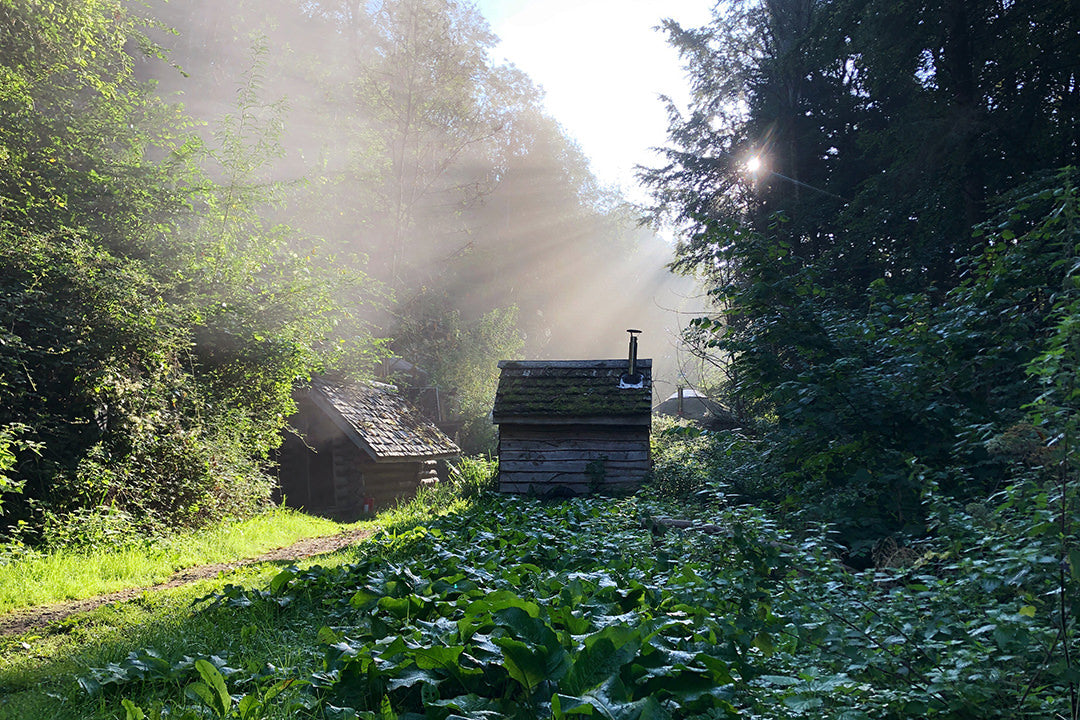
Forest living
Ahead of moving house and becoming parents, we were well ready for some downtime. So we escaped to Campwell Woods for a few nights...
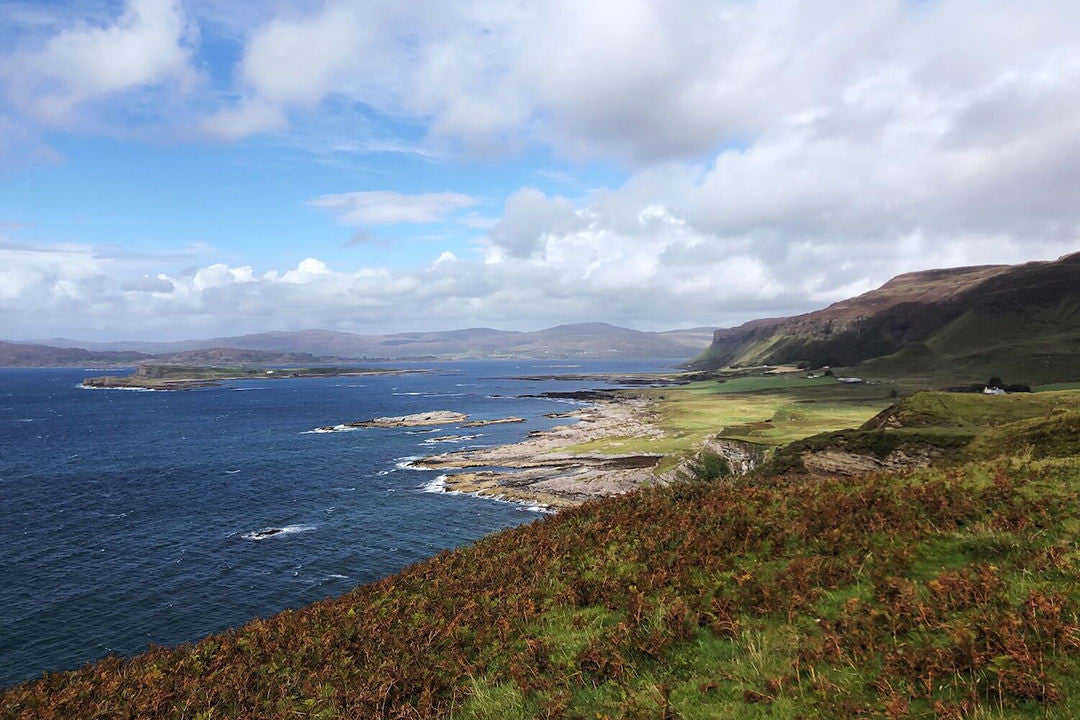
Our Time to Mull
It was a spur of the moment thing. We were staying in the van, just making it up as we went along. So, with no expectations, we booked ferry tickets across to the Isle of Mull.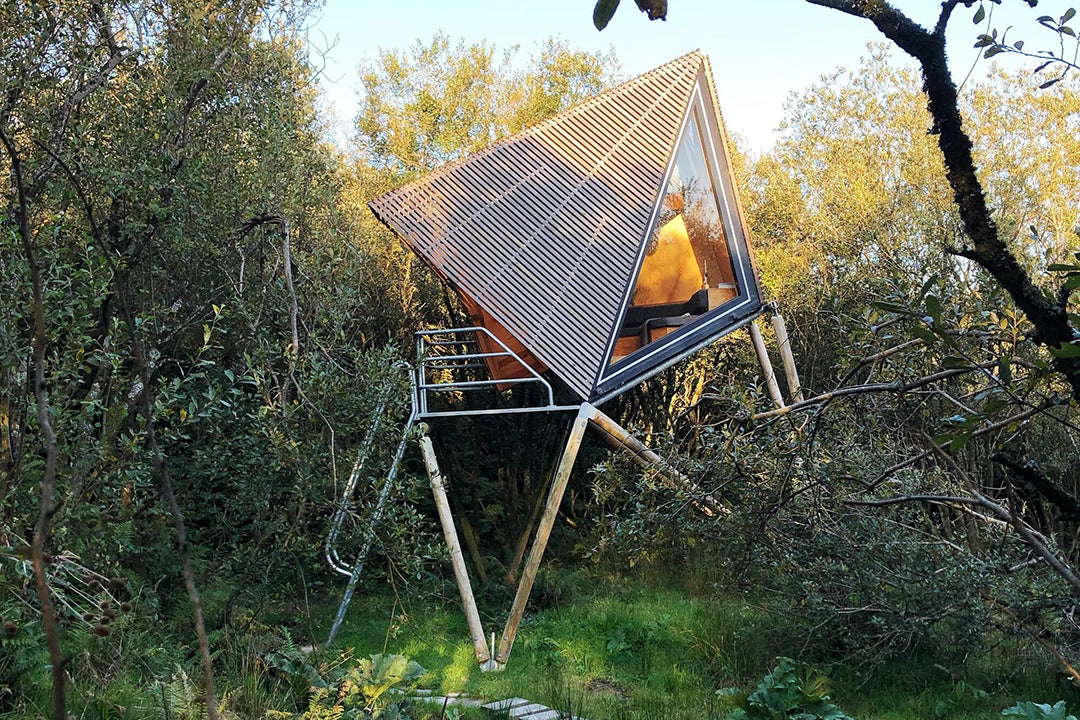
Kudhva: 'Hideout'
Kudhva means 'Hideout' in Cornish. Tucked away on the north coast of Cornwall, we couldn't wait to get a taste of the hidden treasure for ourselves.